- Identify the current electricity and gas providers before moving in.
- Gather your lease, identification, move-in date, address, meter details, and payment information before contacting the provider.
- Match the utility start date to your lease and take a timestamped move-in meter reading.
Moving day comes with a lot to juggle - keys, boxes, address change - without even wondering whether the lights will turn on when you walk through the door or not. Yet one of the most overlooked tasks on any moving checklist is transferring electricity and gas into your own name.
Here's the thing - your landlord or the property manager won't do this for you. Once you sign a lease, keeping the lights on and the heat running becomes your responsibility, and not theirs. Skip this step, and you'd risk arriving at a home with no power, getting billed for a stranger's usage, or scrambling to sort it out after you've already unpacked.
The good news here? Transferring utilities is simpler than most tenants think. This blog walks you through the entire process.
Why Does This Matters (Before You Even Move)?
Sorting out your utilities before your moving day is not just a measure but quite like a necessity - it keeps you protected from a handful of genuinely frustrating scenarios.
First, there's the obvious one - showing up to a home with no gas or electricity. No hot water, no lights, no means to cook dinner on your first night - all because the connection wasn't set up in time.
There's a financial risk also. If the account is still in the name of a previous tenant when you move in, you could end up using gas or electricity that is technically being billed to someone else's name - which is a mess no one wants to be tangled into later, and one that could leave you liable for charges you never expected.
There's also a paperwork side - new utility accounts sometimes require a deposit or a credit check, and discovering that on move-in day is not the time to be dealing with it.
Finally, almost all lease agreements usually require utilities to be in the tenant's name, and not the landlord's - so this is not just practical, it is usually contractual.
Step 1 - Find Out Who Your Current Providers Are
Before you can transfer anything, it's important to know who actually supplies electricity and gas to your new address - and this isn't always obvious, as providers can vary even between neighbouring properties.
Start with the obvious and easy sources:
- Check the property listing or move in paperwork - some landlords list current providers as a courtesy.
- Ask the landlord or the letting agent directly - they've likely dealt with this before, even if they won't handle the transfer for you.
- If possible, just ask the outgoing tenant which companies they used.
- Look for a sticker or a label on the meter box itself - a lot of providers mark their meters.
- Check for any bills left behind in the unit from the previous occupant.
Contact your area's distribution network operator. They won't sell you electricity or gas directly, but they would maintain the physical wires and pipes for your region and can confirm exactly which retailer currently supplies to your address.
Step 2 - Decide - Stay with Existing Provider or Switch
Once you have an idea about who currently supplies the property, you've got a choice to make - either stick with that provider, or shop for a better deal.
Staying with the existing provider is usually the path of least resistance. As the connection is already active at that address, transferring that to your name tends to be a quicker and simpler task than setting up an entirely new account.
Switching providers would be worth that extra effort if:
- Another retailer offers a noticeably better rate for your usage pattern.
- There's a sign-up bonus or promotional offer that outweighs the hassle of switching.
- You already have an account set up with a different provider from a previous rental, and it is simpler to extend that relationship rather than proposing a new one.
Step 3 - Gather What You'll Need To Set Up the Account
Having everything ready before you contact a provider makes the whole process quite easier - most transfers can be completed in a single call or online session if you're not scrambling to find information partway through.
Here's what you have to have on hand:
- Full Name & Contact Details - the account will be registered in your name, so it's better to have a phone number and email ready.
- Move-in Date - this helps to determine when the new account should become active.
- Property Address - include the unit or apartment number, if needed.
- Meter Number or Serial Number - if it's visible on the meter or has been provided by the landlord, this helps providers identify the exact connection.
- Proof of tenancy - a copy of your lease agreement or a tenancy confirmation letter, as some providers need this before opening an account.
- Payment Method or Bank Details - you can plan to set up direct debit.
- ID Verification - a driver's license or a passport, particularly if the provider runs a credit check as part of setting up the account.
- Gas Connection Type - if you're setting up gas, know whether the property runs on mains gas, LPG, or bottled gas, as this affects how the connection is set up and which providers can service it.
Step 4 - Contact the Provider(s) & Start the Transfer
With all the information that you've gathered, it's time to reach out and get the account set up.
Online Sign-Up vs. Phone Call
Most providers usually offer both options. Online sign-up is really convenient if your move-in date is a week or more away and you'd rather avoid hold times - you can still fill out the form on your own schedule.
A phone call, on the contrary, is usually a better choice if you're moving in sooner, need to confirm the details in real time, or want an immediate answer about timings. If your move-in date is within the next few days, call rather than relying on an online form.
What to Say When You Call
Keep it to the point and direct:
- "I am moving into (address) on (date) and need to open a new account."
- "I'd like to transfer service into my name at (address)."
The representative will then ask for the details that you had gathered in step 3 - address, move-in date, and more.
Step 5 - Coordinate the Exact Switch Over Date
Getting the account set up is only half the job done - you also need to make sure the timings match your actual move.
1. Match the Start Date to Your Lease
Ask the provider to set up the account's start date to align with your lease start date or move-in day, and not "sometime this week". This is because if there is a mismatch, it could invite problems, or it's possible that you get billed while the previous tenant is technically still in the property.
2. Take Your Own Meter Reading
On the day of your move-in, you must take a picture of the meter reading on your own, even if the provider tells you they will handle a remote read. This is just a small step that won't take beyond two minutes and will give you a timestamped record of exactly where usage stood when you took over. In case a billing dispute ever arises, for instance, a charge that seems to predate your move-in, this photo would be your evidence.
Common Mistakes to Avoid
There are certain avoidable slip-ups:
- Forgetting that gas and electricity are usually separate processes. Treat them as two different to-do items, and not just one.
- Not taking a move-in meter reading. Skipping this step leaves you with no record of where usage stood when you took over.
- Assuming that the landlord has taken care of it. Unless your lease specifically states otherwise, the utilities are almost always the tenant's responsibility to set up.
- Not closing out the account at your old address. Failing to transfer out or cancel your old account can leave you paying for the property you no longer live in.
Conclusion
Transferring electricity and gas into your name comes down to three different steps - identifying your supplies at your new address, gathering your documents, and scheduling the switchover to match your move-in date.
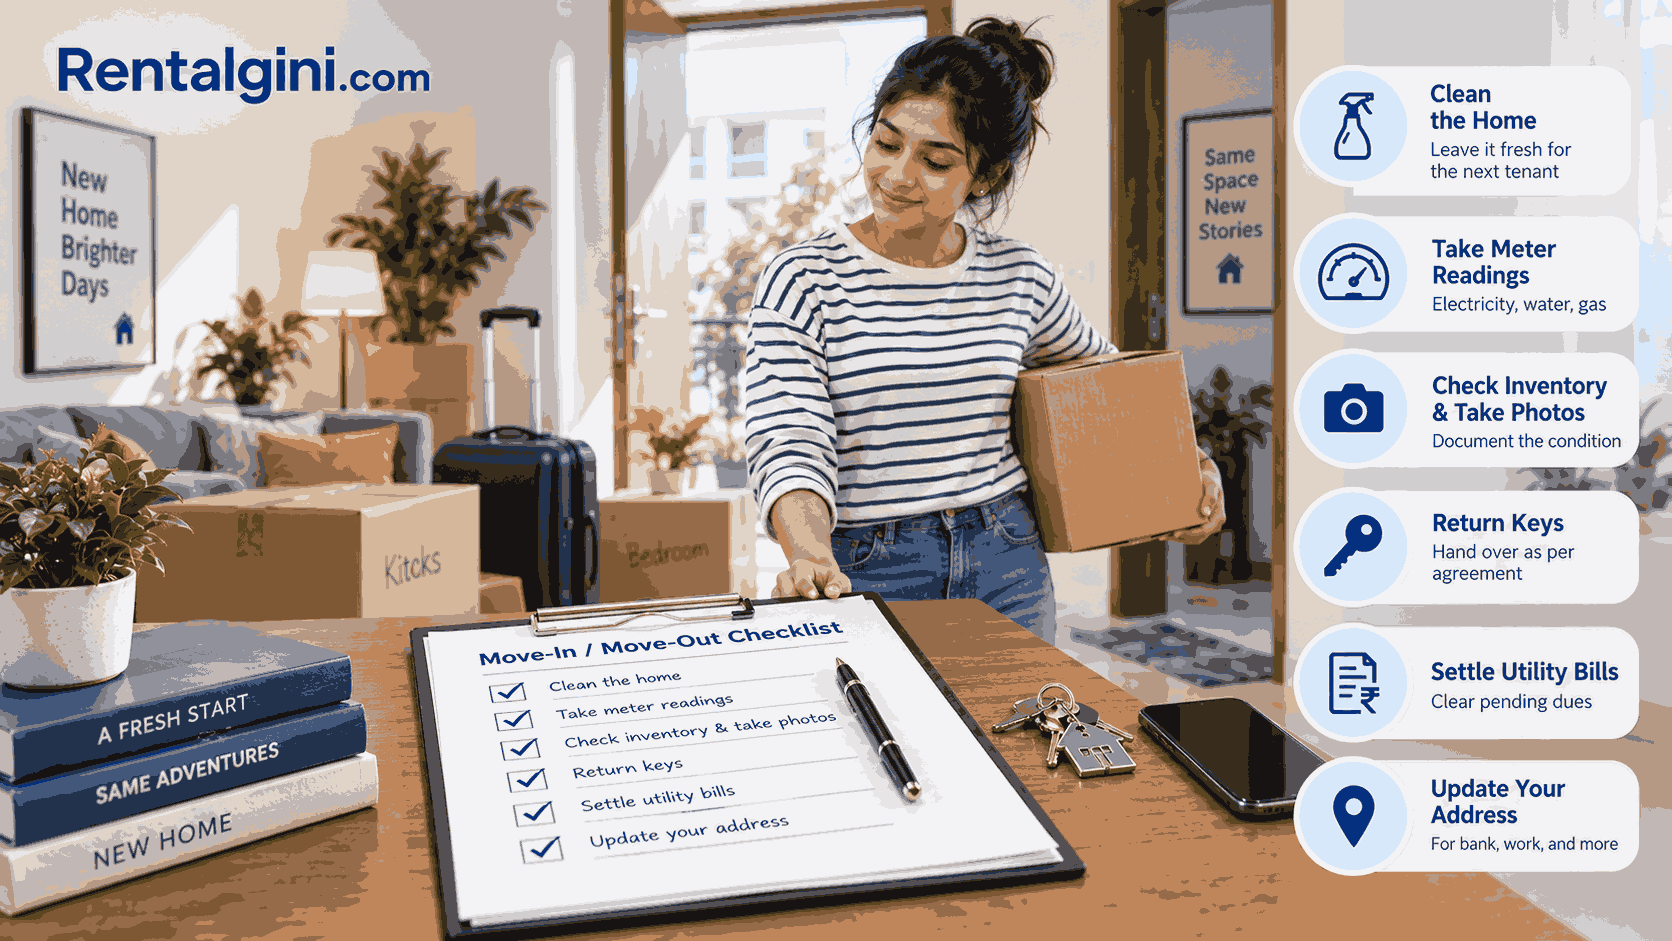
Are you all set to make your move a bit easier? Save this entire checklist to make sure nothing else slips through the cracks.

Saloni Bhatia
Rental and property management writerSaloni Bhatia writes on rental documentation, compliance, and property management best practices for Rentilium.
Looking for verified rental homes?
Explore verified living spaces and workspaces across your preferred city.